How to Synchronize Multiple LED Screens for One Video?

Time:2026-09-19 Author:Sienna
0%

Creating one seamless image across several LED displays requires more than sending the same file to every screen. The real challenge is timing, scaling, color consistency, and signal stability. This guide explores “How to synchronize multiple LED screens for one video?” using practical methods used in live events, retail walls, studios, and large public installations. Each screen must receive the correct frame at the correct moment. Even a slight delay can make a moving logo appear broken.

Reliable synchronization begins with compatible LED processors, stable media servers, and accurate signal distribution. Genlock or frame-lock systems can align video output across multiple devices. The screens should also share matching refresh rates, resolutions, and cabinet configurations. Before an event, technicians should test the complete signal path, from playback computer to receiving cards. Watch the edges. Check fast movement. Inspect dark scenes. These details reveal problems that static images often hide.

However, no installation is perfectly predictable. Cable length, processor settings, heat, and firmware differences may create unexpected behavior. A setup that works in the workshop might fail under stage lighting. That is why experienced teams record settings, label every cable, and keep a backup playback source ready. Color calibration also deserves attention. Brightness may look equal indoors but appear uneven outdoors. Careful testing, documented procedures, and professional equipment create a more dependable result, though small adjustments may still be necessary during operation.
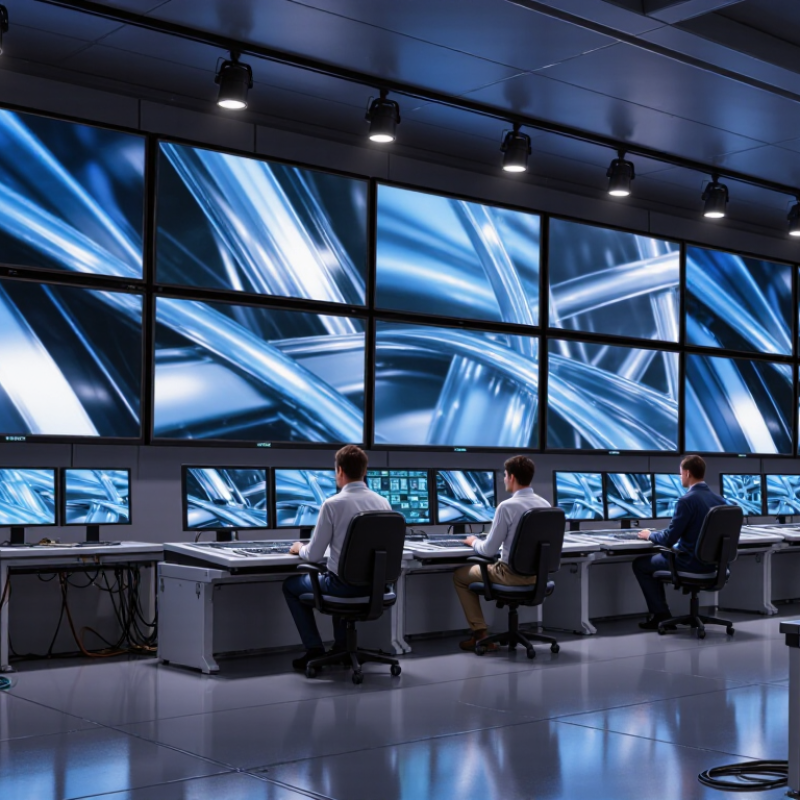
How to Synchronize Multiple LED Screens for One Video?

Define the Synchronization Goals and Display Layout

Before connecting any equipment, define what synchronization must achieve. A single video across several LED screens may need frame-accurate playback. Another installation may only require matching start times. Decide whether the screens form one continuous canvas, repeat the same image, or show separate content zones. For a seamless canvas, set a fixed frame rate, common resolution plan, and acceptable latency. For mirrored content, minor processing differences may remain unnoticed. Write the target clearly. Do not assume “synchronized” means identical.

Draw the physical display layout before selecting signal paths. Mark each screen’s position, width, height, viewing direction, and pixel resolution. Include the gap between panels. A three-screen wall with a narrow center gap needs different image mapping from a curved arrangement. Record which processor feeds each section. Measure cable routes, not just straight-line distances. Long or uneven routes can complicate timing checks. Keep a numbered screen map beside the control system. Many teams skip this document, then lose time during troubleshooting.

Test the layout with motion, not only static images. Use a moving bar, a fast countdown, and a full-screen color change. Watch the screen edges closely. A one-frame delay can appear as a split object. I prefer testing after the system reaches operating temperature. Small timing changes sometimes appear later. The plan may look perfect on paper, yet physical alignment can expose hidden errors. Leave room for correction. Real installations rarely match the first drawing exactly.

Choose Compatible LED Screens, Processors, and Playback Equipment

How to Synchronize Multiple LED Screens for One Video?

Choose compatible LED screens, processors, and playback equipment before building the display system. Grand View Research valued the global LED display market at about 7.1 billion dollars in 2023. It also projects strong growth through 2030. More installations mean more compatibility problems.

Match every screen’s pixel pitch, cabinet resolution, refresh rate, and receiving hardware. Use identical scan settings whenever possible. Different refresh rates can create visible tearing or rolling lines. Color calibration also matters. Two screens may show the same frame but still appear noticeably different. Check brightness, grayscale, and gamma values under actual venue lighting.

The processor must support genlock, frame synchronization, required input resolutions, and stable EDID management. Keep signal paths short. Fiber or network links should use consistent timing and tested cable lengths. Playback equipment should output one frame rate, one resolution, and one timecode source. AVIXA’s 2024 Industry Outlook and Trends Analysis places annual professional AV revenue above 300 billion dollars, showing how large these systems have become. Yet scale does not guarantee reliability. A small timing mismatch can become obvious across a 20-meter wall. Test the full chain for at least several hours. I have seen systems pass a short check, then drift during extended playback. That warning deserves attention. Calculations alone are not enough. Test with the real content, real cables, and real operating temperature.

How to Synchronize Multiple LED Screens for One Video?

Choose LED screens, processors, and playback equipment that support the same playback frame rate. The chart shows the exact duration of one video frame at common synchronization standards.

For reliable multi-screen playback, set every playback device and video processor to one shared frame rate, such as 30 fps or 60 fps. A 60 fps signal creates a new frame every 16.67 milliseconds, so mismatched frame rates can cause visible tearing, repeated frames, or timing drift. When possible, use a common reference clock or genlock connection and verify that all LED screens accept the selected input timing.

Connect and Configure the Video Signal Distribution System

Synchronizing multiple LED screens begins with a stable video signal distribution system. Use one central video source and route it to a distribution unit with matching outputs. A star topology is usually safer than long daisy chains. It reduces signal loss and makes faults easier to locate.

Choose cables rated for the required resolution and refresh rate. Keep cable lengths similar where possible. Connect the source to the distributor, then connect each output to an LED processor or receiving controller. Confirm every device supports the same signal format. Check resolution, frame rate, color depth, and aspect ratio. Small differences can create black screens or unstable images.

Timing matters most. Enable a shared synchronization signal, such as genlock, when the equipment supports it. Otherwise, screens may show tearing or visible frame delays. Configure identical output settings across all processors. Use test patterns with grids, moving bars, and bright white fields. Watch the screen edges carefully. Misalignment often appears there first.

I once corrected a multi-screen installation by replacing one short, poor-quality cable. The fault looked like a processor failure. It was not. This is why every cable should be labeled and tested individually. Measure the signal at the distribution point, not only at the source. Keep spare cables available. Real installations are rarely perfect. Even careful plans need a second verification after the screens warm up.

Set Screen Mapping, Resolution, Refresh Rate, and Timing

How to Synchronize Multiple LED Screens for One Video?

Set Screen Mapping, Resolution, Refresh Rate, and Timing

Synchronizing multiple LED screens begins with an accurate screen map. Define each cabinet’s position, width, height, and pixel direction in the control software. Then build one virtual canvas that matches the entire display wall. A misplaced column can shift faces, text, or moving objects by several pixels. Mark the physical corners with tape before loading content. It seems simple, but this step is often rushed.

Set the output resolution to match the mapped canvas, not just one screen. If the wall uses different cabinet sizes, scale each area carefully and avoid automatic stretching. Keep the video’s aspect ratio stable. Otherwise, circles may appear oval, and fine text can become uneven. Use the same refresh rate across all receiving systems. A higher refresh rate can reduce camera scan lines, but it cannot fix poor shutter settings.

Timing requires equal signal paths and a shared clock whenever possible. Configure identical frame rates, input formats, and processing delays. Test a frame counter, moving bar, and full-white pattern before the event. Watch the screen from several angles. Small brightness differences may reveal calibration problems. A test pattern can look perfect while real video still feels late. Leave time for adjustment; real walls rarely behave exactly like the drawing.

Test Playback Synchronization and Resolve Common Display Issues

How to Synchronize Multiple LED Screens for One Video?

Test Playback Synchronization and Resolve Common Display Issues

Synchronization starts with one reliable signal path. Set every screen to the same resolution, frame rate, color depth, and playback length. Use a shared clock or genlock when the processor supports it. Keep video cables equal in specification, not merely similar in appearance. A test clip with a sharp flash exposes timing errors quickly. Record it with a high-shutter camera. Watch for double images, uneven motion, or a flash appearing across screens at different moments.

Test continuously for at least 30 minutes. Short tests can hide drift. Check dropped frames, audio delay, processor temperature, and network packet loss. The 2024 AVIXA Industry Outlook and Trends Analysis valued global professional AV revenue above 300 billion dollars in 2023, showing how much large-scale visual systems now depend on dependable operation. Yet expensive equipment cannot correct mismatched settings. A loose connector still wins.

Common display issues often come from scaling, inconsistent refresh rates, or incorrect EDID communication. Compare each screen’s input status before changing advanced settings. Then inspect brightness, color temperature, and cabinet calibration under real viewing conditions. MarketsandMarkets’ 2024 LED Display Market report projects the sector will grow from roughly 7 billion dollars in 2024 to more than 10 billion by 2029. That growth may encourage faster installations, but rushed testing creates avoidable failures. A perfect first playback is not proof. Recheck after transport, heat buildup, and cable movement. My own weak point is trusting a stable image too early. Motion reveals the truth.

FAQS

What should synchronization achieve across multiple LED screens?

Define the goal clearly. Screens may share one video, mirror content, or show separate zones. A seamless canvas needs matching frames, resolution, and acceptable latency. Identical start times may be enough for simpler displays. Do not assume “synchronized” means identical.

How should the physical display layout be documented?

Draw each screen’s position, width, height, direction, and pixel resolution. Record panel gaps and the processor feeding every section. Measure actual cable routes, including bends and uneven paths. Keep a numbered screen map nearby.

Why do panel gaps affect image mapping?

A narrow center gap changes how one continuous image crosses three screens. Curved arrangements require different mapping from flat walls. Measure the visible spacing carefully. Small gaps matter.

Which settings should all screens share?

Match resolution, frame rate, color depth, and playback length. Use a shared clock when supported by the processing system. Check every input status before adjusting advanced settings. Similar settings are not always identical.

What test content can reveal timing problems?

Use a moving bar, fast countdown, sharp flash, and full-screen color change. Watch screen edges closely. A one-frame delay can split a moving object. Motion reveals problems.

How can a camera help verify synchronization?

Record a sharp flash with a high-shutter camera. Look for double images, uneven movement, or flashes appearing at different moments. Static pictures can look correct while motion exposes errors. Trust movement more.

How long should synchronization testing continue?

Test continuously for at least 30 minutes. Short tests may hide clock drift, dropped frames, or delayed audio. Recheck after the system warms up. Heat changes things.

What common problems should technicians inspect?

Check scaling, refresh-rate mismatches, incorrect display identification data, loose connectors, and network packet loss. Also inspect brightness, color temperature, and cabinet calibration in real viewing conditions. Recheck after transport, heat buildup, and cable movement. A loose connector still wins.

What mistakes can weaken an otherwise successful installation?

Teams may trust a stable image too early or skip the layout document. Expensive equipment cannot correct mismatched settings. Leave room for physical correction because installations rarely match the first drawing. I still trust early success too much.

Conclusion

How to synchronize multiple LED screens for one video? Begin by defining the visual goal, screen arrangement, viewing distance, and the way content should span or repeat across each display. Select LED screens, video processors, media players, and signal equipment that support compatible resolutions, refresh rates, input formats, and timing controls. A well-planned system prevents mismatched images and makes later adjustments easier.

Next, connect the video source to a distribution system capable of sending stable signals to all screens. Configure the screen map, total canvas resolution, scaling, refresh rate, and synchronization timing so every panel displays its assigned section at the same moment. Test the complete setup with moving images, bright areas, and fast transitions. If problems occur, check cable paths, signal capacity, device settings, frame timing, and screen mapping. Careful testing helps resolve delays, flicker, black screens, image gaps, and incorrect orientation before the final presentation.

Sienna

Sienna

Sienna is a skilled marketing professional with a deep expertise in our company’s core products and services. With a passion for innovation and detail, she plays a pivotal role in crafting insightful blog posts that not only highlight the unique features of our offerings but also provide valuable......